
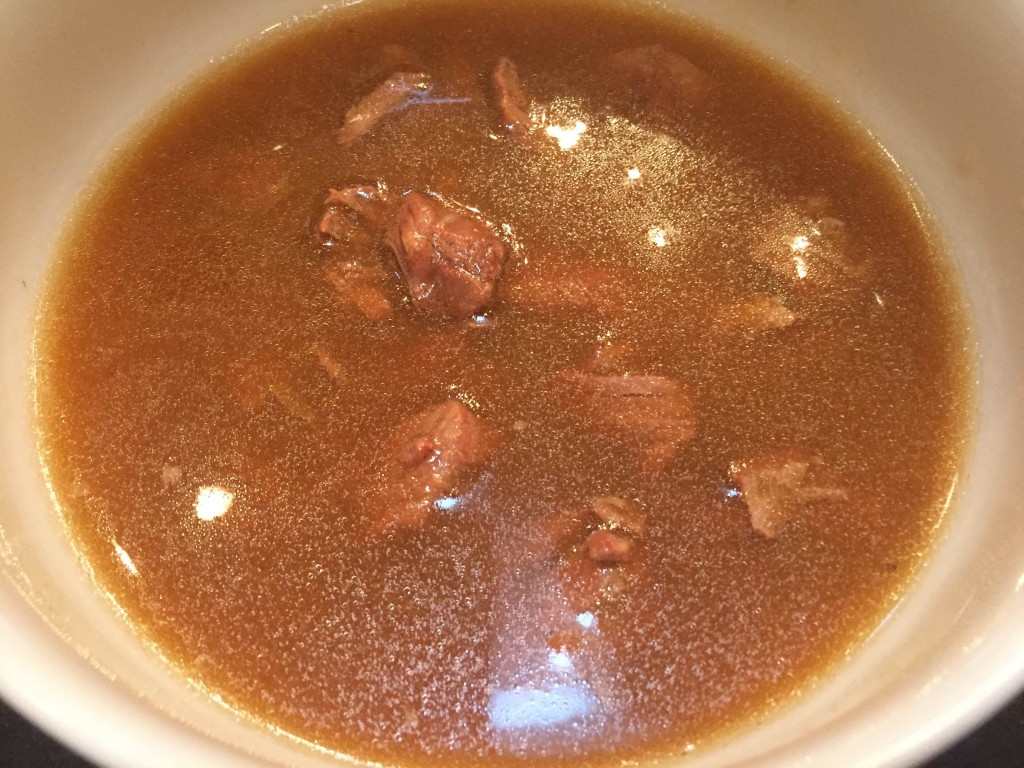
This was my quest for a nutrient-rich soup with meat I could leave in it, more than broth, less than stew, nothing too spicy. I used this Beef Bone Broth recipe as a basis. You can follow that as a template and see the tweaks I made below. The first photo is the soup the day it was made before the fat was removed, so there’s a little extra fat shining on the surface there. Made a few additions to the recipe: used 5 pounds of soup bones instead of the 4 in the recipe, added 2 pounds of stew meat, and added one sweet potato. I removed the cooked carrots and sweet potatoes about halfway through and pureed them, adding them back in to the strained broth at the very end with the stew meat. This can be a great way to camouflage veggies for the little guys. Mine likes to drink soup with a straw, so it’s a big win if all the nutrients are in broth form. End product: flavorful, simple beef soup with a rich broth and chunks of meat in it.
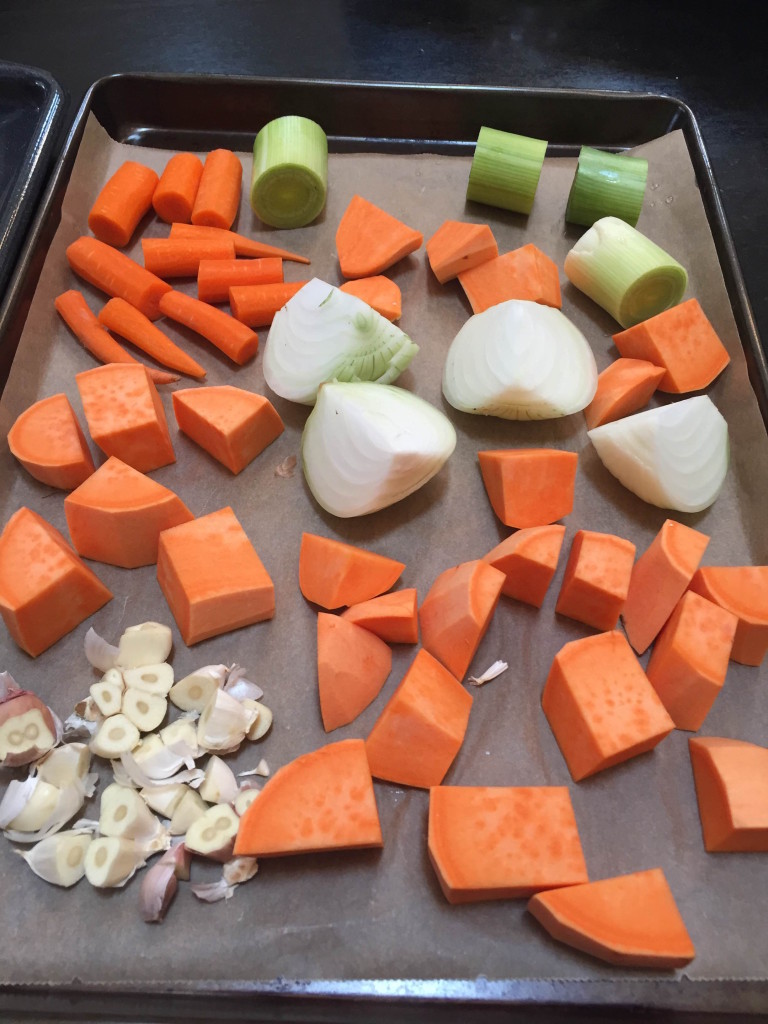
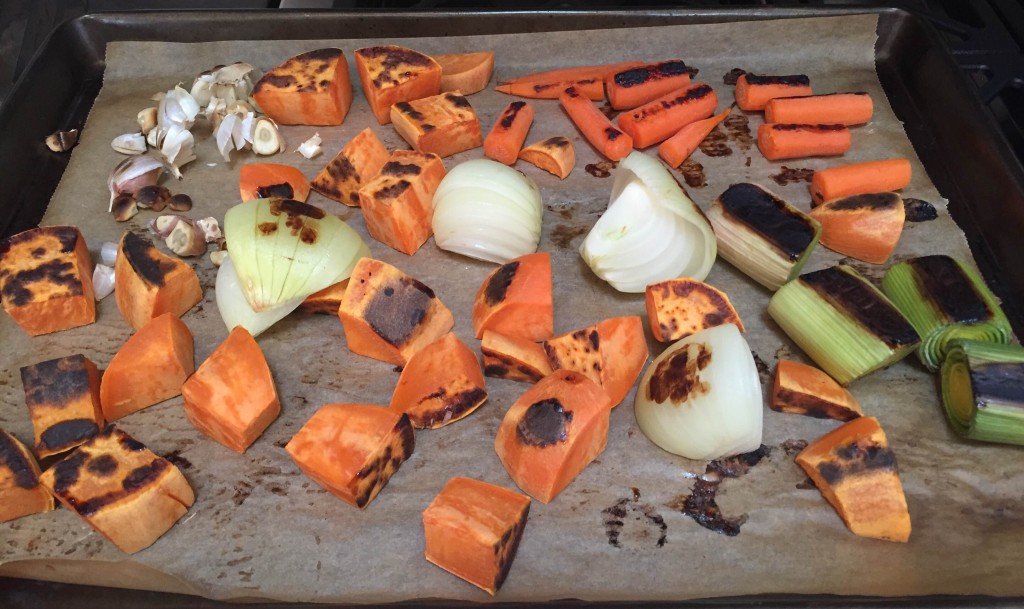
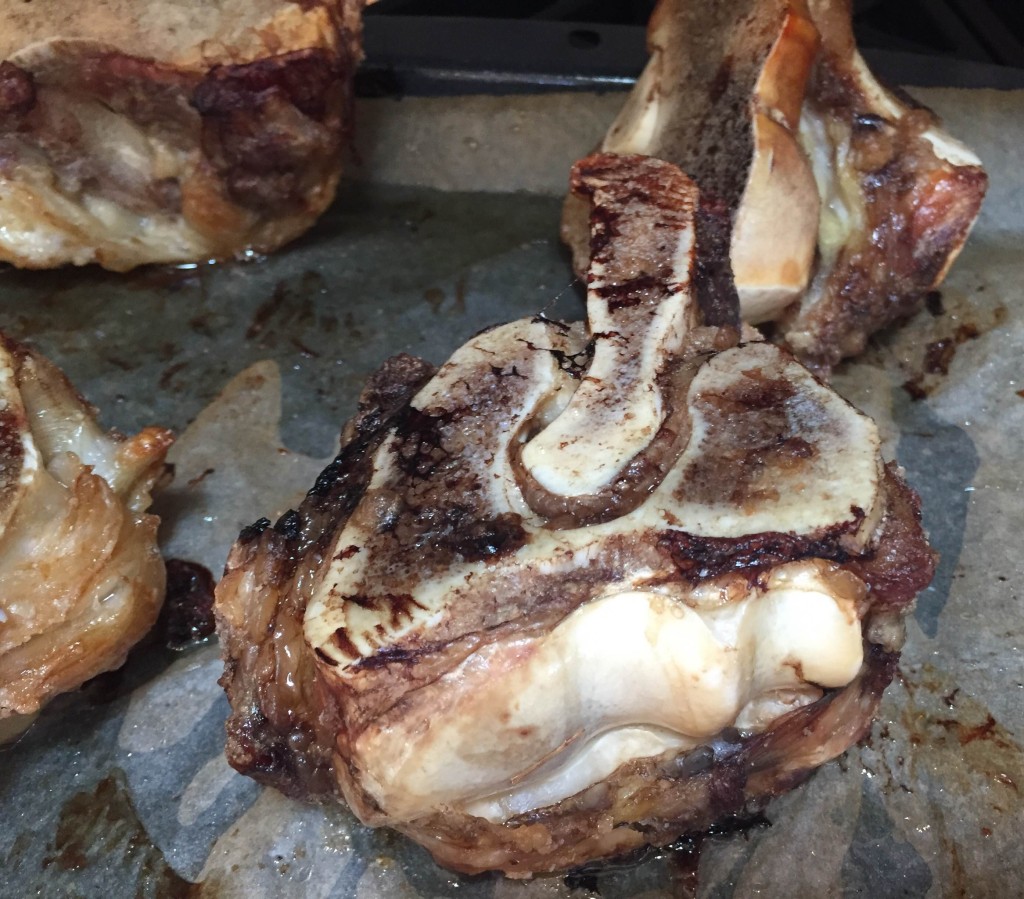
The bone broth recipe calls for roasting the meat and vegetables at 450 degrees before adding them to the soup. This temperature worked for the meat but was too high for the vegetables in my opinion. They would have been better off at 400 and ended up with some blackened spots rather than a nicely browned exterior.
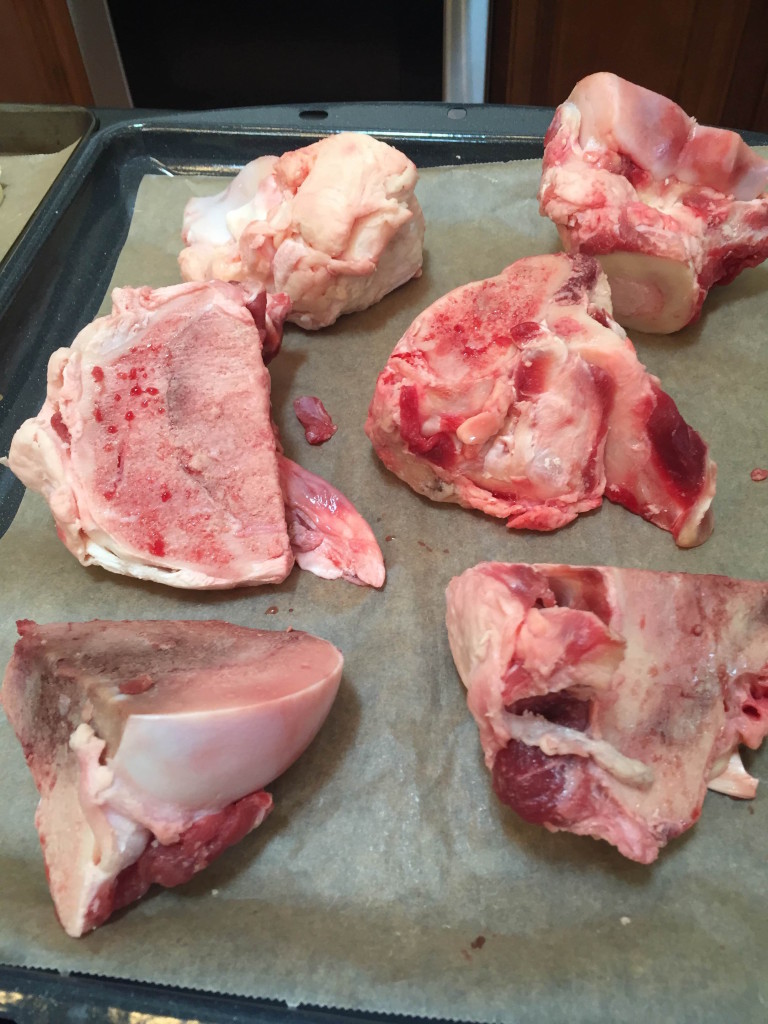
Soup bones before roasting.
And, after…
I used a 12-quart stock pot and started with a gallon of water. I had to add water to keep the bones covered multiple times as the soup cooked, so ultimately used at least 2 gallons of water.
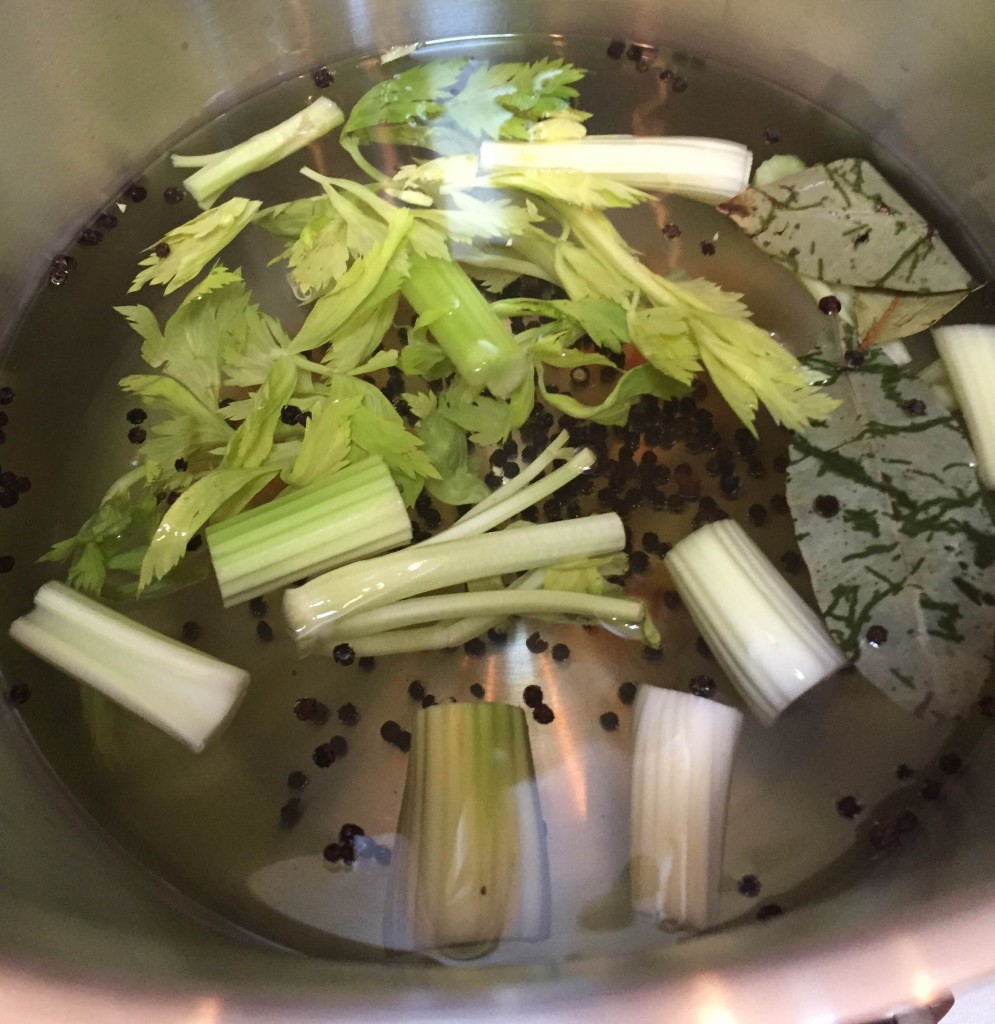
Here’s the soup with everything added.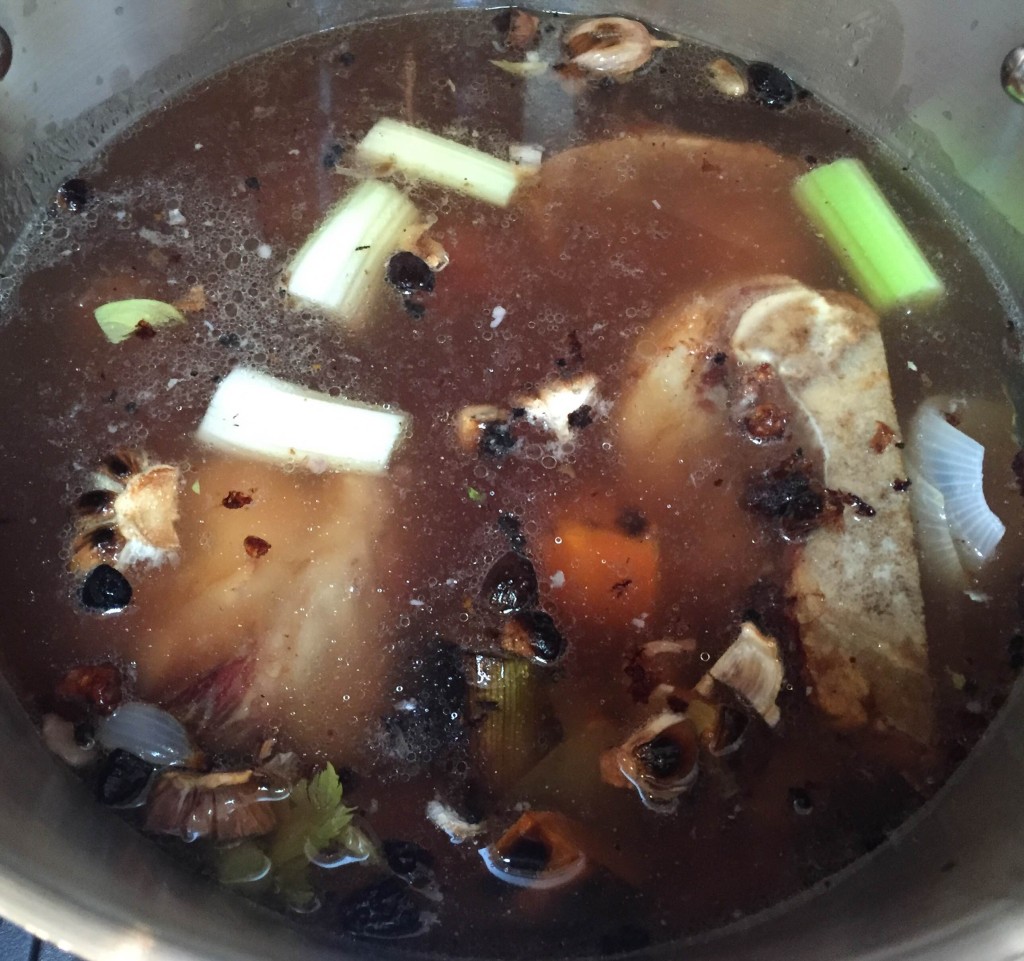
Skimming is important to get all the foam/fat/debris that rises when it’s cooking.
 Here’s what came out in the skimming process… lost a few peppercorns so threw some more in. After a couple hours of cooking the soup, I removed the sweet potato and carrot chunks. They were easy to find because they floated to the top. I pureed those with a bit of the soup liquid and set the mixture aside to add back in at the end.
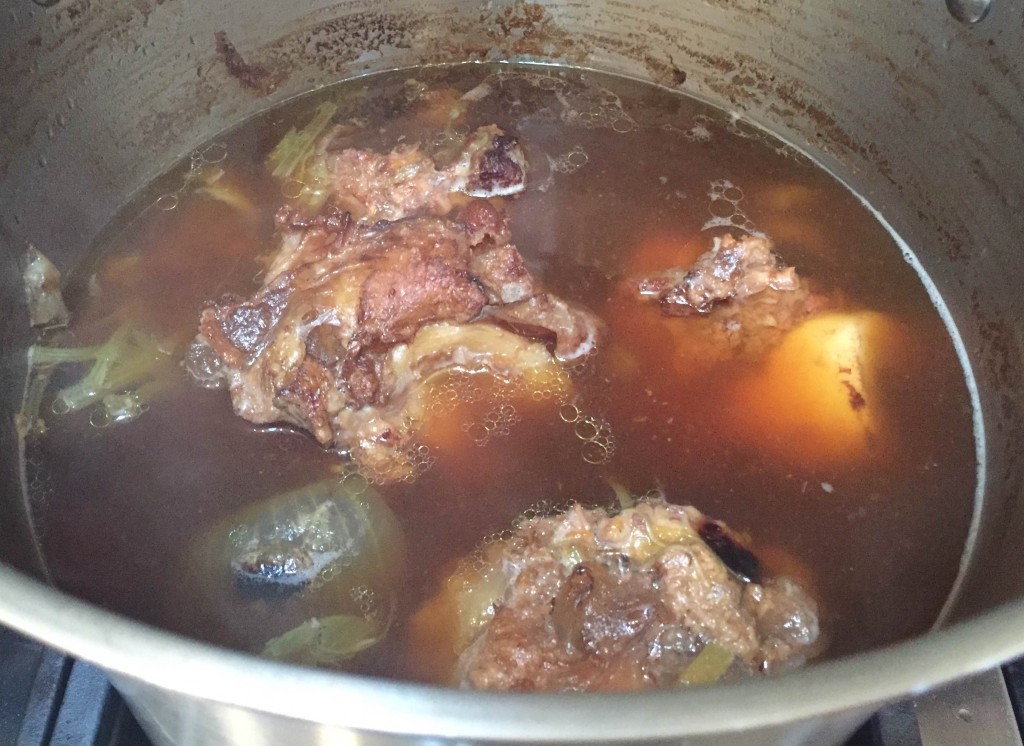 Here’s what the soup looked like after cooking for seven hours. It tasted good at that point, so I called it good. You can keep cooking longer if you wish.
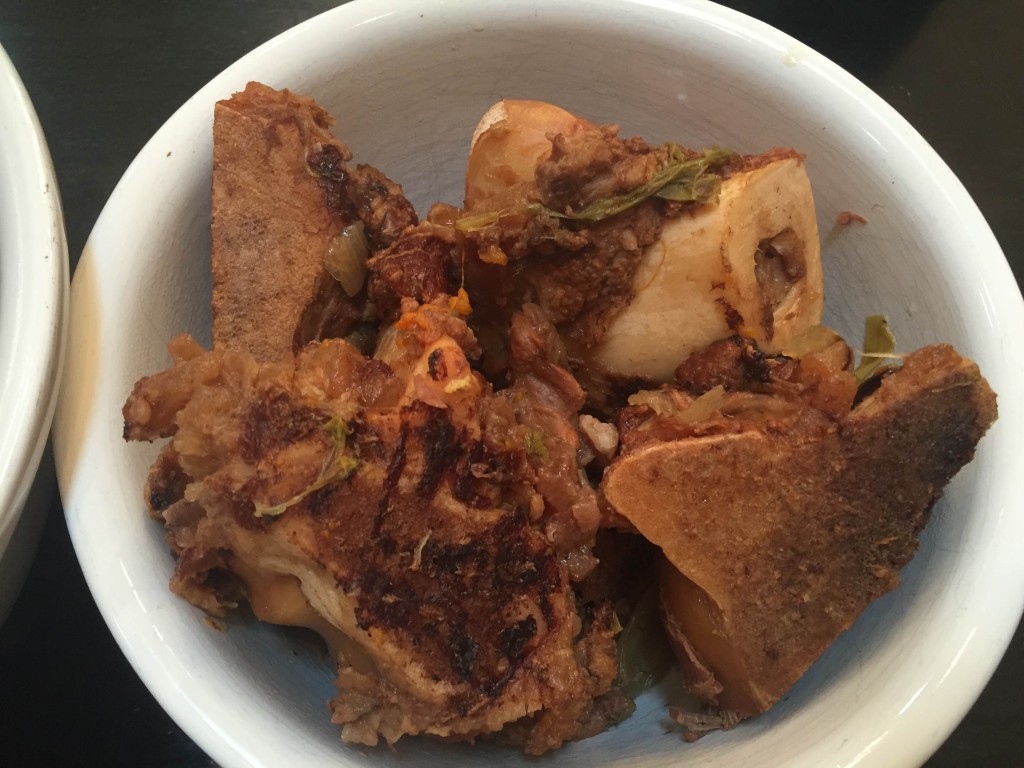
Next step: take out the large soup bones before straining.
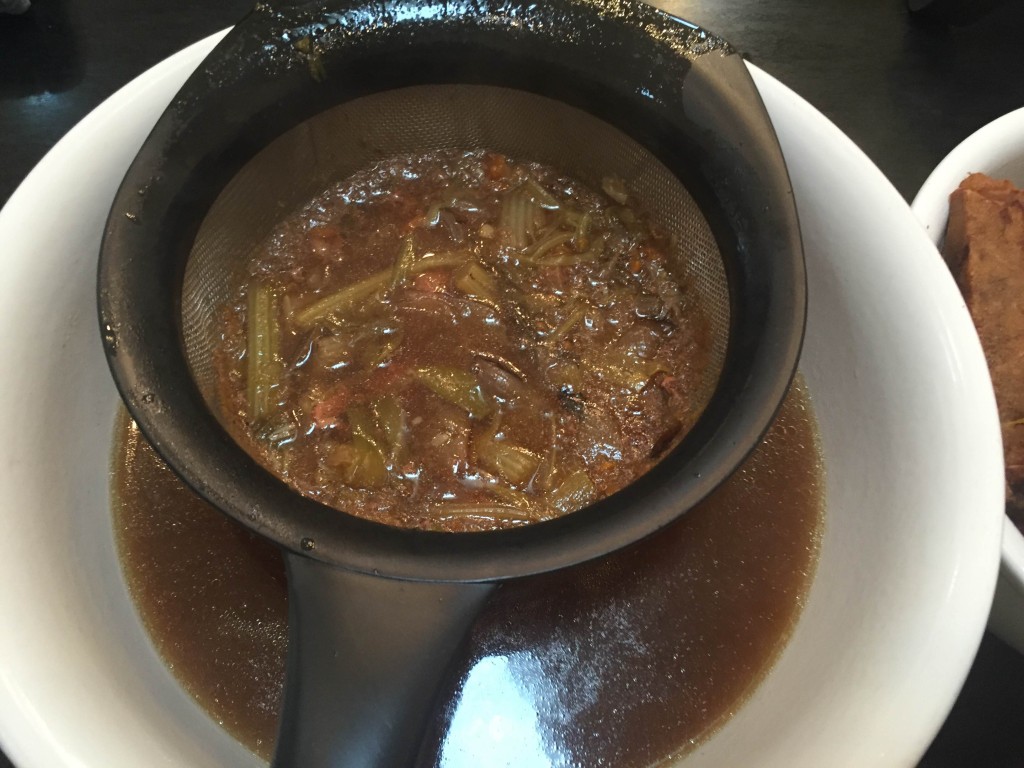 Straining the soup gets rid of all the onion/leek/garlic debris left and lets you separate out the meat. I added the meat back in after straining. A little tedious to avoid putting back debris that was just strained out — maybe next time the strategic use of some cheesecloth would save time.
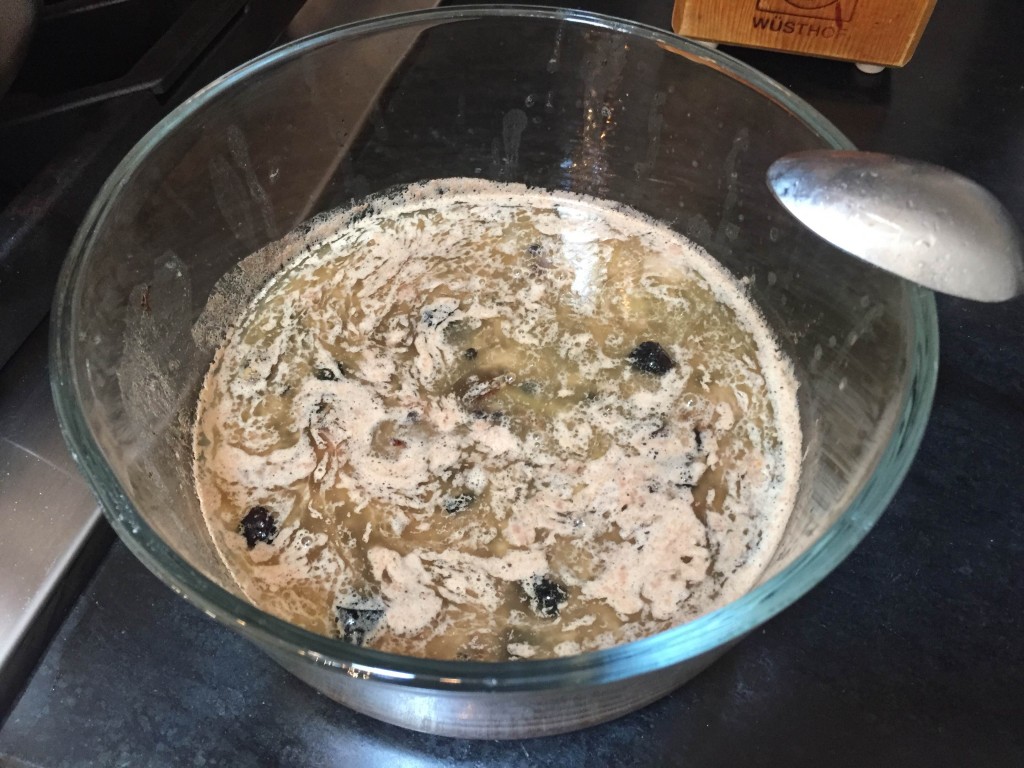
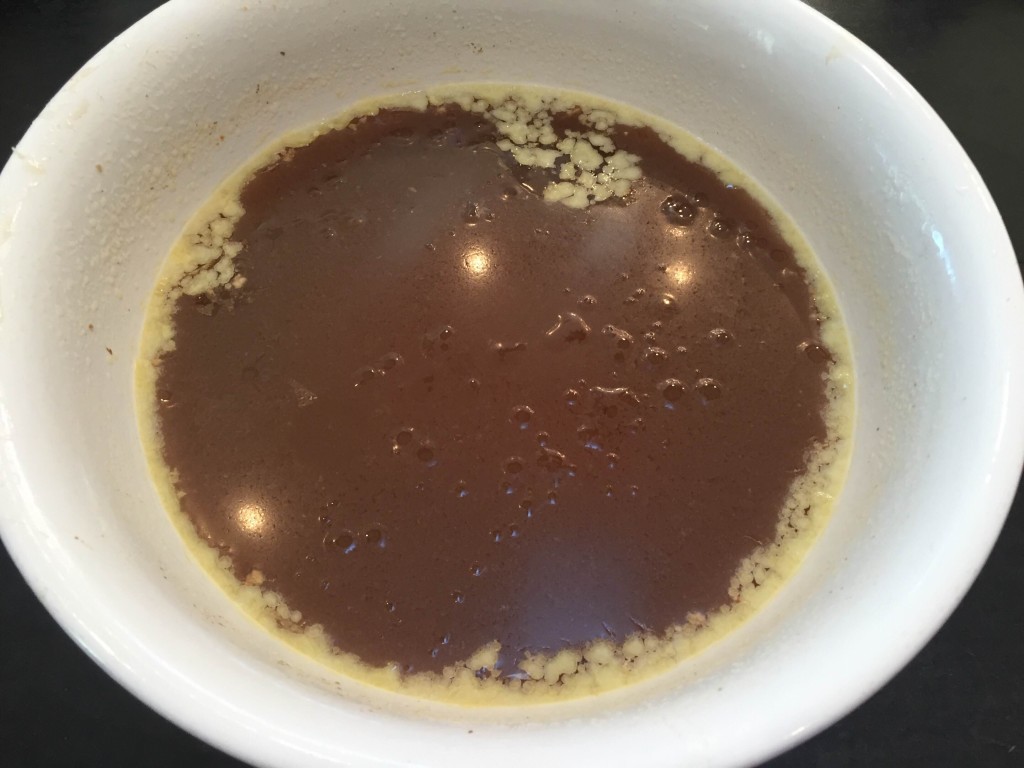 Here’s the soup with the sweet potato and carrot puree and meat added back in, after spending the night in the fridge (covered with plastic wrap). I skimmed more fat than I realized — this was all that was left.
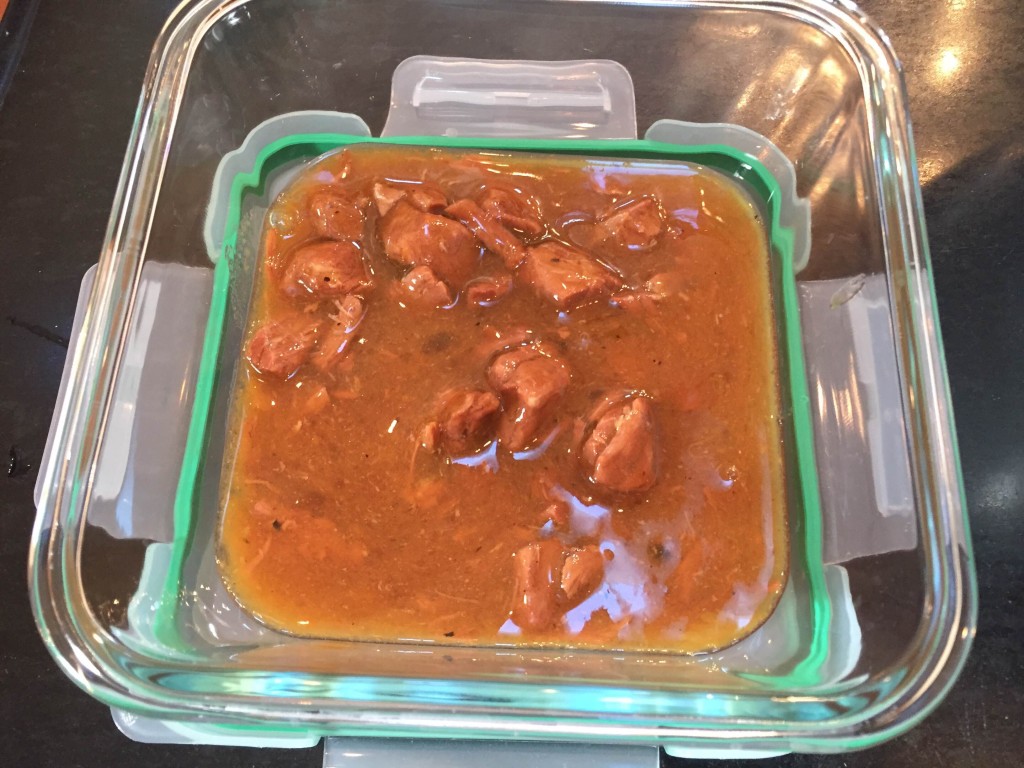 Final product — nice rich broth with chunks of meat.
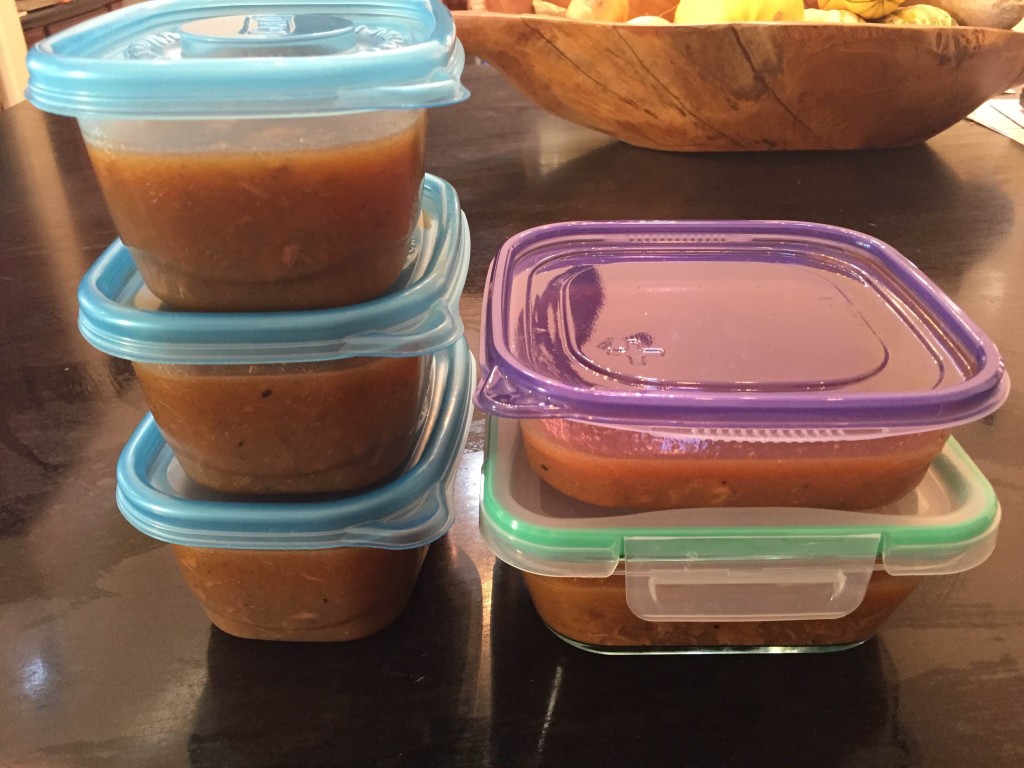 This recipe made 14-16 cups of soup. I kept some out for the next couple days and froze the rest.